How to set up a Template?
Templates

T H Kwek
Last Update 4 years ago
Here's an overview of the template feature and a video guide that will get you started on workflow automation in no time.
Here is a brief overview of the process:
- Set up Template
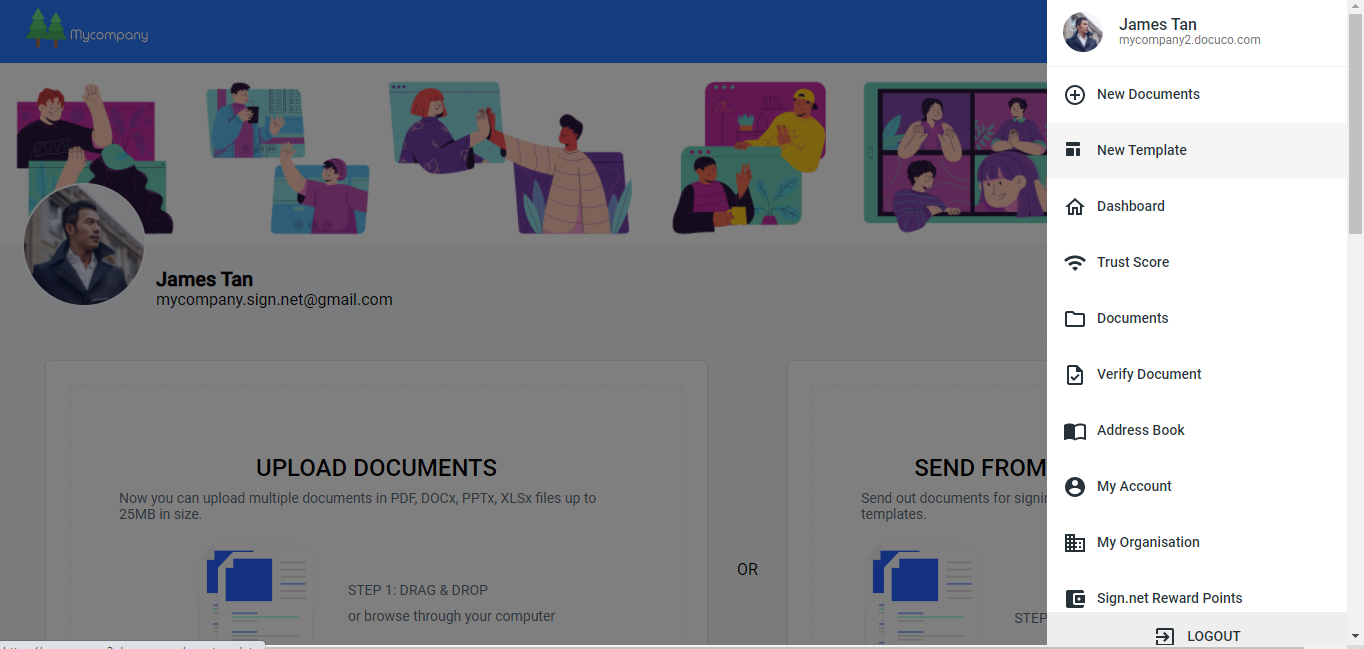
1. Click on the Menu at the top right corner of the page and select New template.
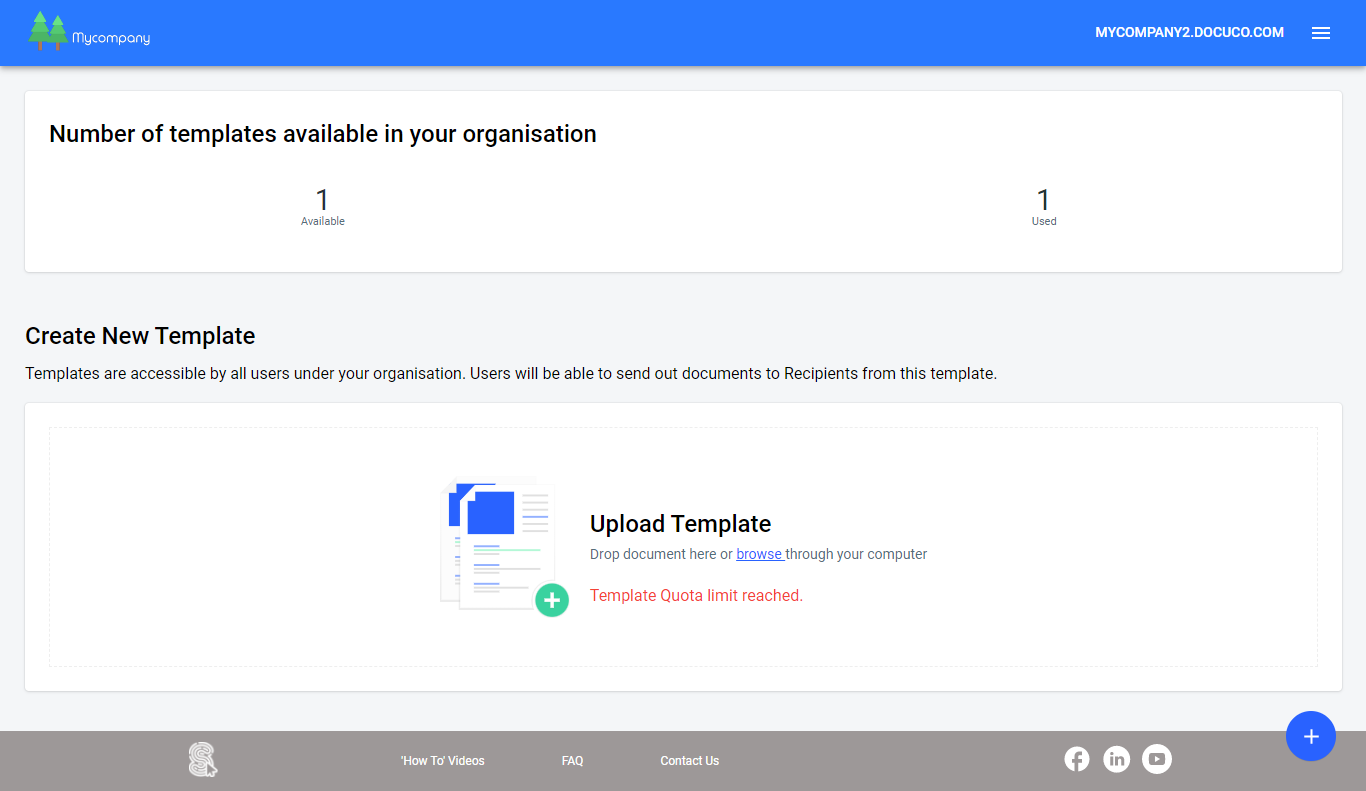
2. Upload Document
3. Add in Roles on the document e.g. Buyer & Seller or Student & Administrator
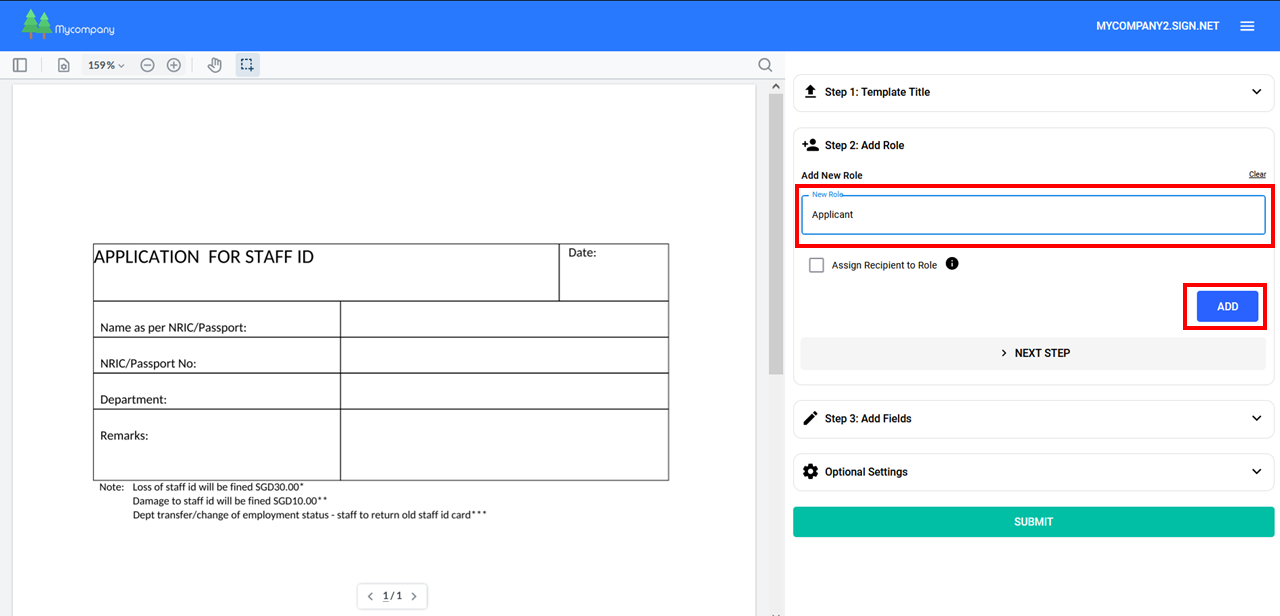
In certain cases, you may wish to specify a recipient for a role by checking “Assign Recipient to Role”. Then, fill in the recipient’s email and name. The recipient will be added into all documents generated from the template.
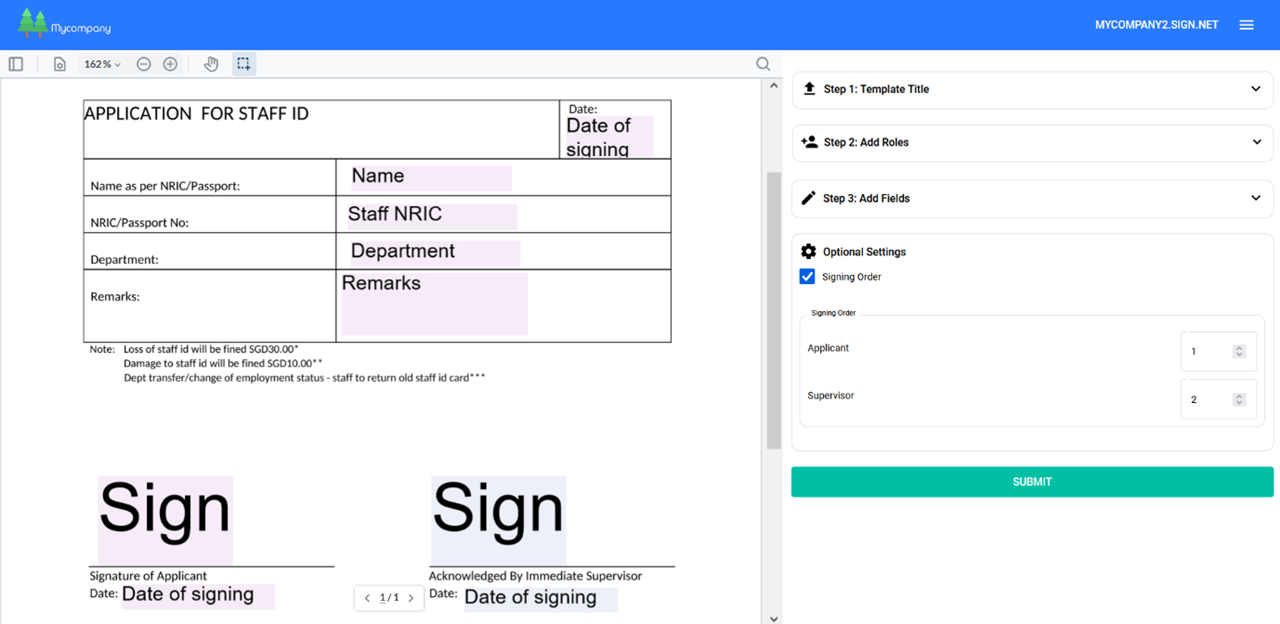
4. Assign Fields to each Role.

5. Set Signing Order on the template (if you like)
- Send out Document from Template
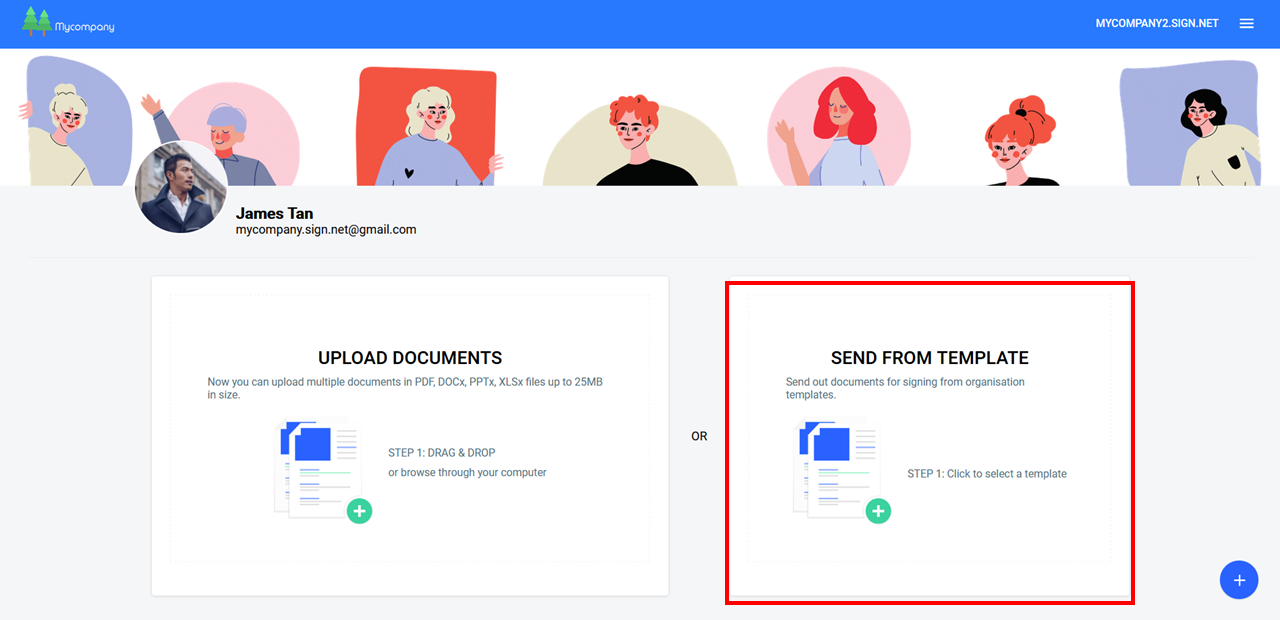
1. All users under your organization account can send out documents from the template.
2. From your Organization Dashboard, select Send From Template.
4. Assign Recipients to each Role.

4. Add Optional Settings on document e.g. pass code protection or message.
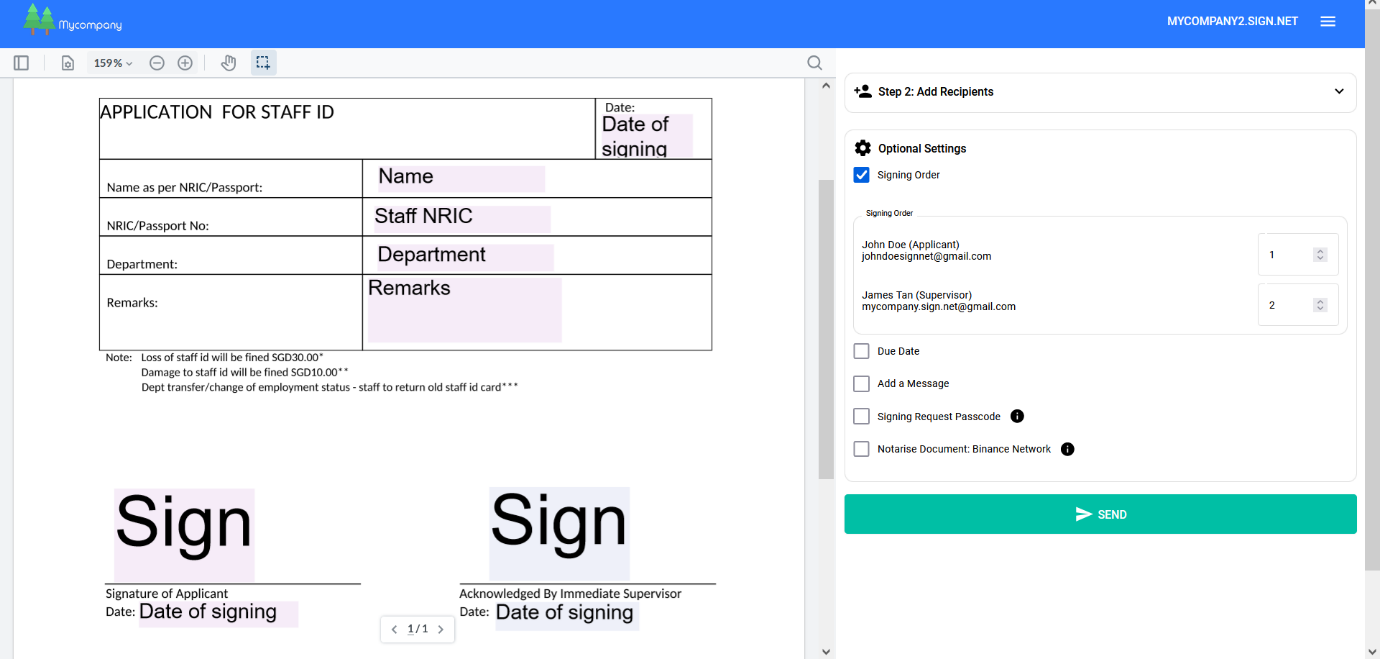
5. Click Send
- Recipients Sign Document
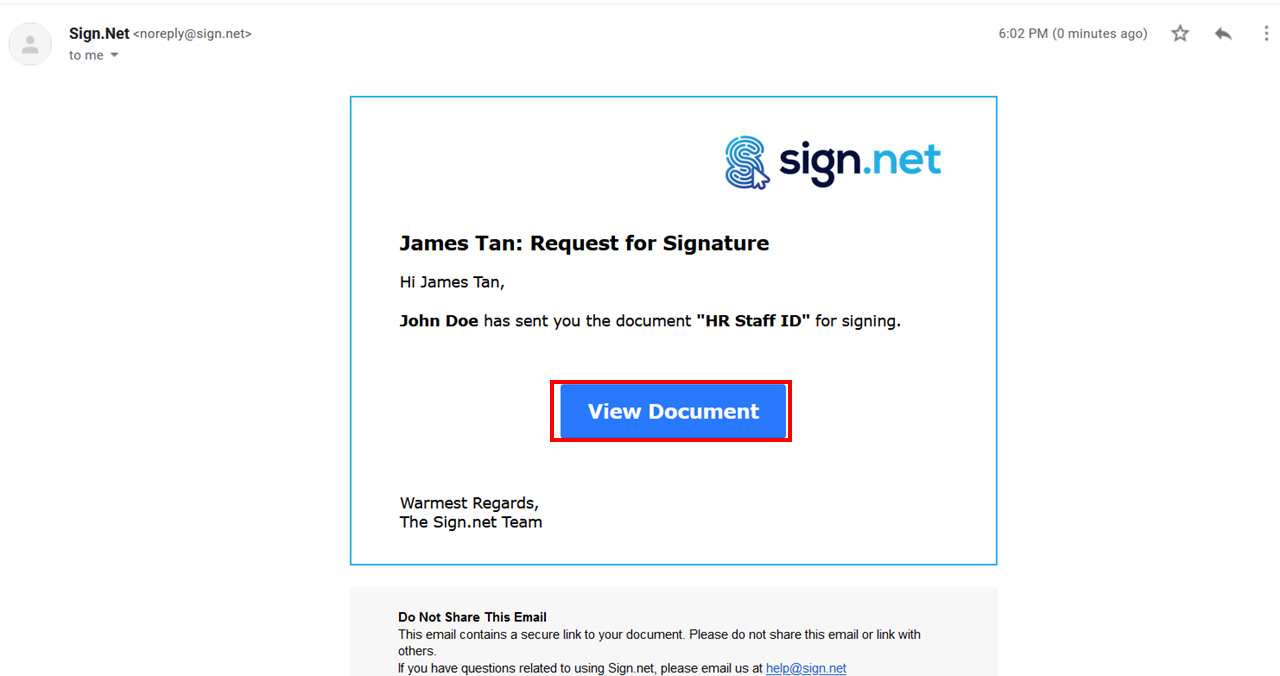
1. Receive and click on the email notification for signing.
2. Click on every field to sign the document on any web interface.
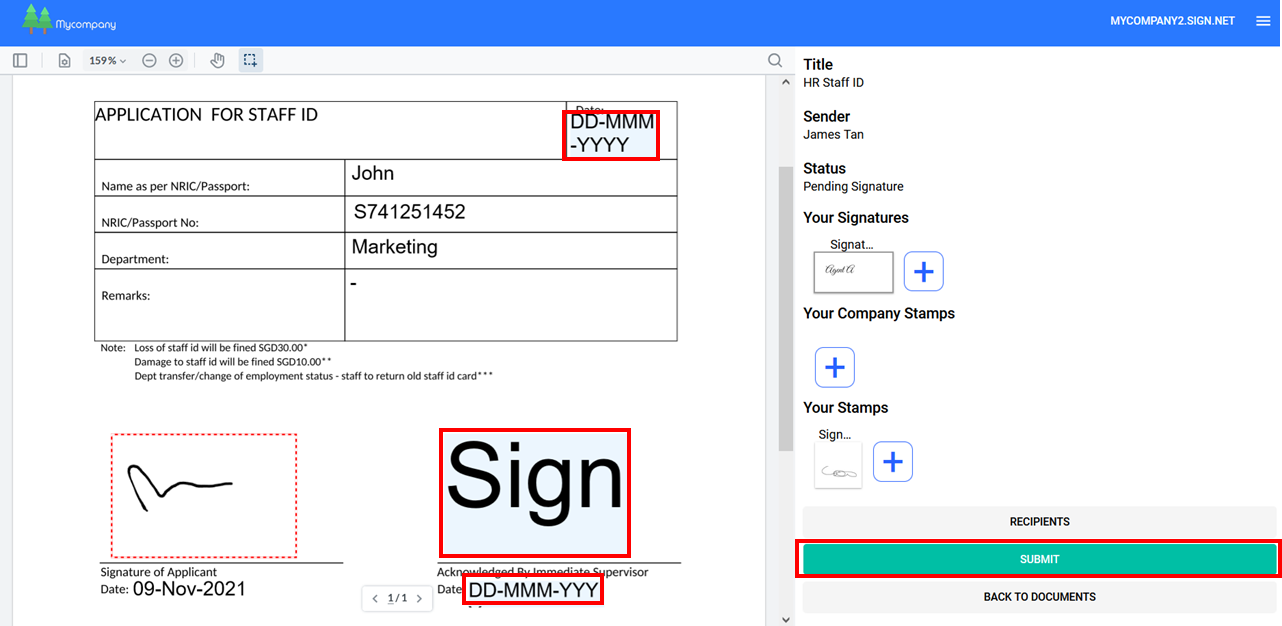
3. Submit when done.
4. All recipients of the document, the template creator, and the document sender
will receive completed document attached to the email. No Sign.net account needed.
Here is a brief overview of the process:
- Set up Template
- Click on the menu at the top right corner of the page and select “New template”.
- Upload Document
- Add in Roles on the document e.g. Buyer & Seller or Student & Administrator
- Assign fields to each Role
- Set signing order on the template (if you like)
- Send out Document from Template
- All users under your organization account can send out documents from the template
- Assign recipients to each role
- Add optional settings on document e.g. pass code protection or message
- Click Send
- Recipients Sign Document
- Receive and click on the email notification for signing
- Click on every field to sign the document on any web interface
- Submit when done
- All recipients of the document, the template creator, and the document sender
Watch How to Use Templates (5-minute video)
Download a step-by-step guide to using the template tool. (Done previously? To keep?)
Download a step-by-step guide to using the template tool. (With Goggle Drive created 17 May)
This is a detailed step-by-step guide to using the template tool.